I like bead charms with flower bead caps because they give my designs a professional touch. Today, I am going to share with you how I make a bead charm with flower bead caps. In this project, I am going to use two pieces of flower bead caps in different sizes. The small one will be layered onto the bottom and the big one will be layered onto the top of the bead.
Tools and Materials
1. Chain nose pliers
2. Round nose pliers
3. Wire cutter
4. Bronze flower bead caps in different sizes
5. Bronze headpin
6. Round bead (10mm)
The above photo shows the materials and tools for making a bead charm. We use round nose pliers for wire wrapping and forming loops. One side of the nose is tapered round and the other side is a slight concave shape that bends your wire in a curve shape. The wire cutter is to be used to cut the excess wire, whereas we use the chain nose pliers for holding small items and shaping wire. The small bead cap will be put at the bottom of the bead and the big bead cap will be put at the top of the bead. The headpin features a flat head on one end that acts as a stopper, ensuring the bead is secured onto the wire.
Now, let's turn your favourite bead into a beautiful bead charm just in a few steps.
Instruction
Thread the headpin through the small bead cap, bead and then big bead cap one after another as shown in the photo. Ensure the correct order is followed.
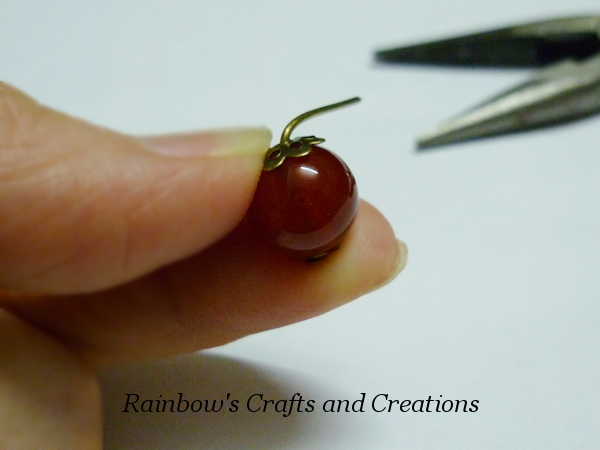
Using chain nose pliers, bend the wire to the side of the bead to form a right angle (90 degrees).
Using wire cutter, cut the wire about 10mm away from the bead.
Then, use the round nose pliers to grip the end of the wire and press the end tighly as shown in the photo.
Now, roll the pliers towards the bead. Usually, I have to roll the pliers twice to make a full loop. If the loop is not at the center of the bead, you can use the chain nose pliers to center it
A bead charm is done and ready to attach to your bracelet, necklace or more.